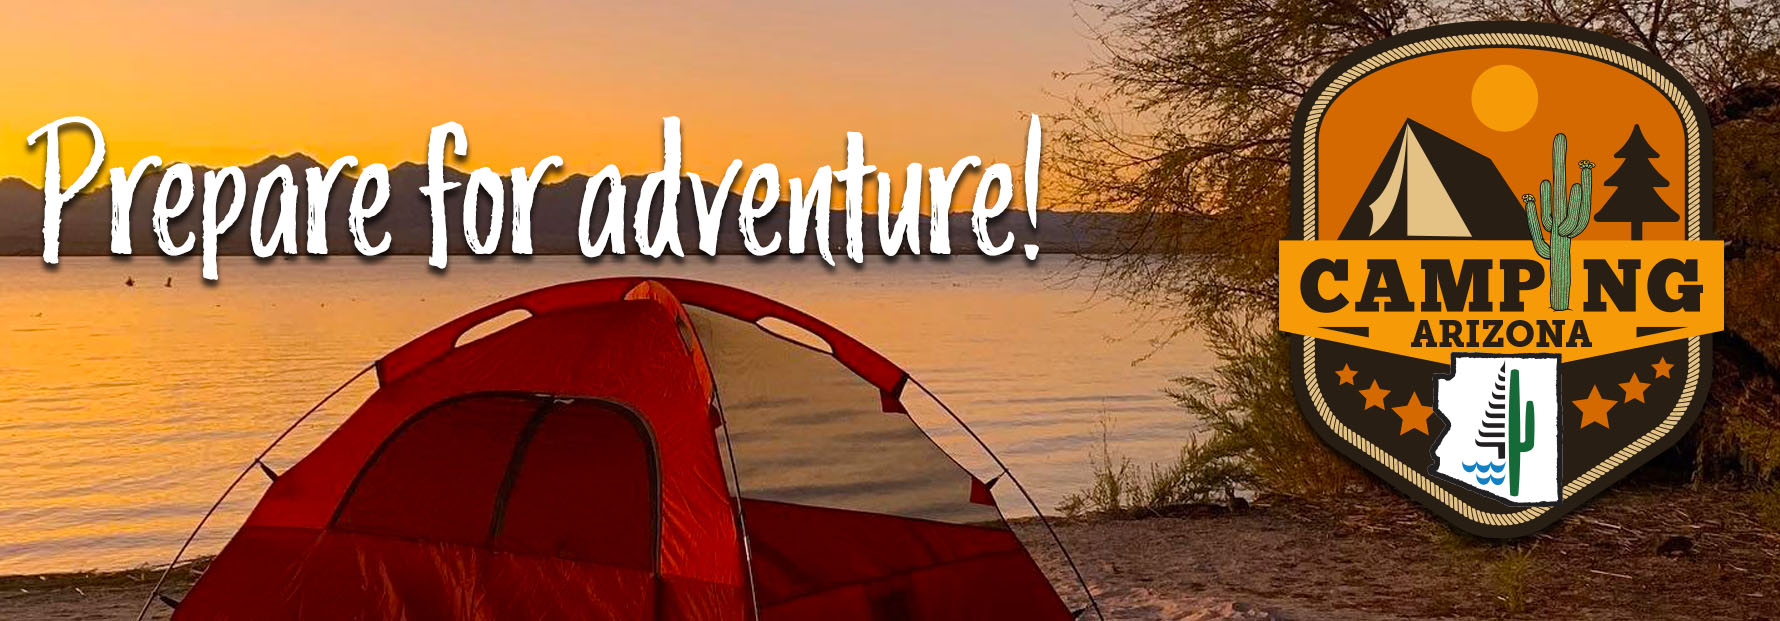
Camping Checklist

If you want to learn to camp, it might be tough to know where to start, and if you're an experienced camper, you've been in a predicament while camping and forgotten a necessary item. Without a comprehensive camping checklist, we rely on memory or experience to pack up before a trip, and that could lead to a less than ideal situation. Whether you’ve been camping for years or are just looking to get into the outdoor lifestyle, the following camping tips and downloadable, printable PDF camping checklist will help you camp with confidence this year by explaining what to take camping!
Jump To: Shelter | Coolers | Camp Kitchen | Weather and Clothing | Start Exploring
You can choose a variety of options here, and your preference will change with time. You could start out as a tent camper enjoying nothing more than the simplicity of a light footprint. As time continues, you might start a family or decide you want more space and realize that a tent camper or travel trailer is more appropriate and will help ensure you and your family continue to make as many outdoor memories as possible. Take a look at the following options to learn what’s right for you.
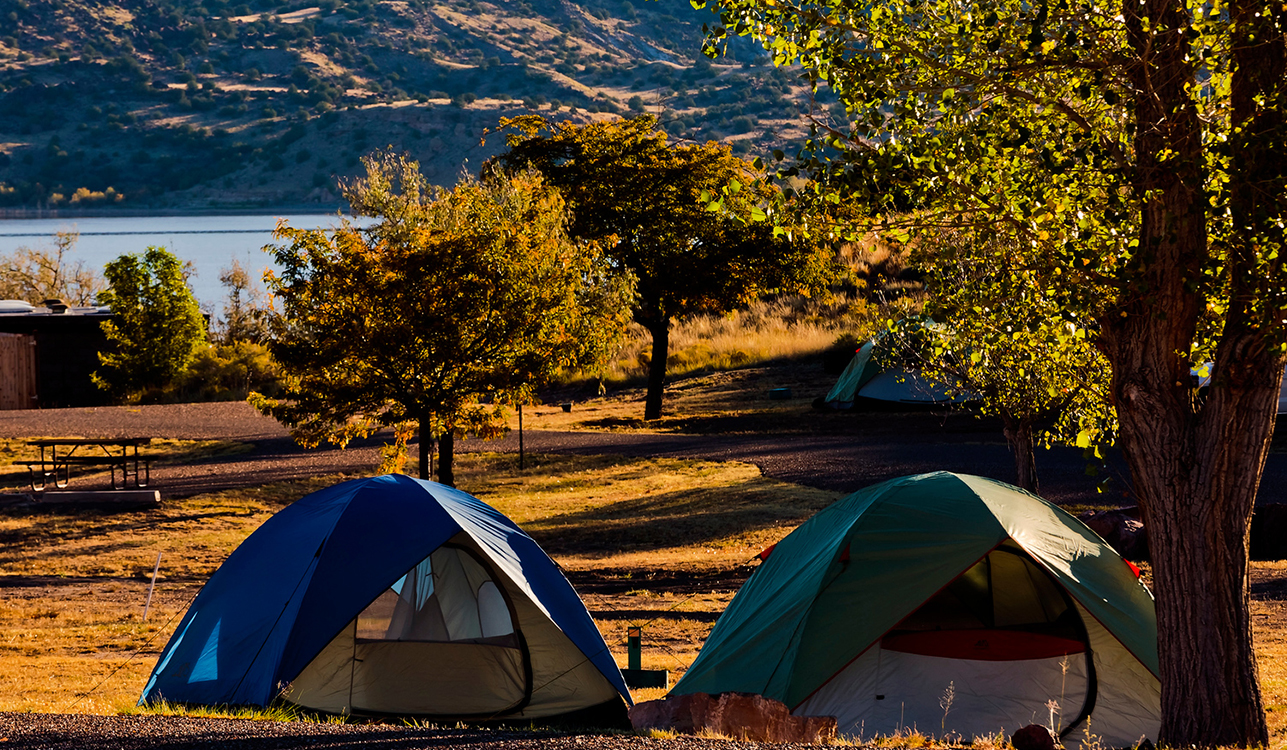
Tent Camping
The benefits of tent camping include being able to fit your camp in smaller places, so your options are really opened up. There are some great beach and boat-in spots in some of your state parks that lend themselves well to tent camping, and you just can’t put a trailer there! Another benefit of tent camping is that you don’t need to tow anything. Your day to day sedan will do just fine and get you into some great camp spots! A main point of contention with tent camping is comfort…So just how do you camp in a tent comfortably?
Let’s assume that you won’t be tent camping in extreme snow and you would like to keep your tent portable and easy to set up. The cold weather options are large, heavy, and require more set up time than a trailer, yet do relatively the same thing. A standard three season tent will suit you just about perfect for your state park camping experience. These tents are great for spring, summer, and fall camping, and might do the job during an extreme winter storm, but after all…they are called three season tents for a reason!
A good three season tent will have a rain fly, which is a thin covering of fabric that fits over the screen or fabric top and sides of your tent. The rain fly is waterproof, and so is the tent, so this combo does a great job of combating light to moderate rainfall. A byproduct of the rain fly is that it helps to insulate your tent in cool conditions. The rain fly can be removed on clear, warm nights to allow some air circulation as well while keeping you cool.
Three season tents are generally staked to the ground to assure a sudden wind gust doesn’t re-locate your tent while you’re hiking or fishing. They also come in a variety of sizes to suit your needs. A great rule of thumb is to purchase a three-season tent that is larger than the suggested occupancy. For instance, a four-person tent is just about perfect for two people plus some associated gear and clothing. This helps keep your tent area a little spread out and less cluttered which adds to the overall comfort of your camping experience. It also leaves room to add cots instead of using sleeping pads on the ground.
Bedding
One of the most important aspects of a comfortable camping trip is your bedding setup. A good sleeping bag should sit on top of either a pad, inflatable mattress, or a cot to ensure you wake up refreshed instead of with sore muscles from uncomfortable sleep.
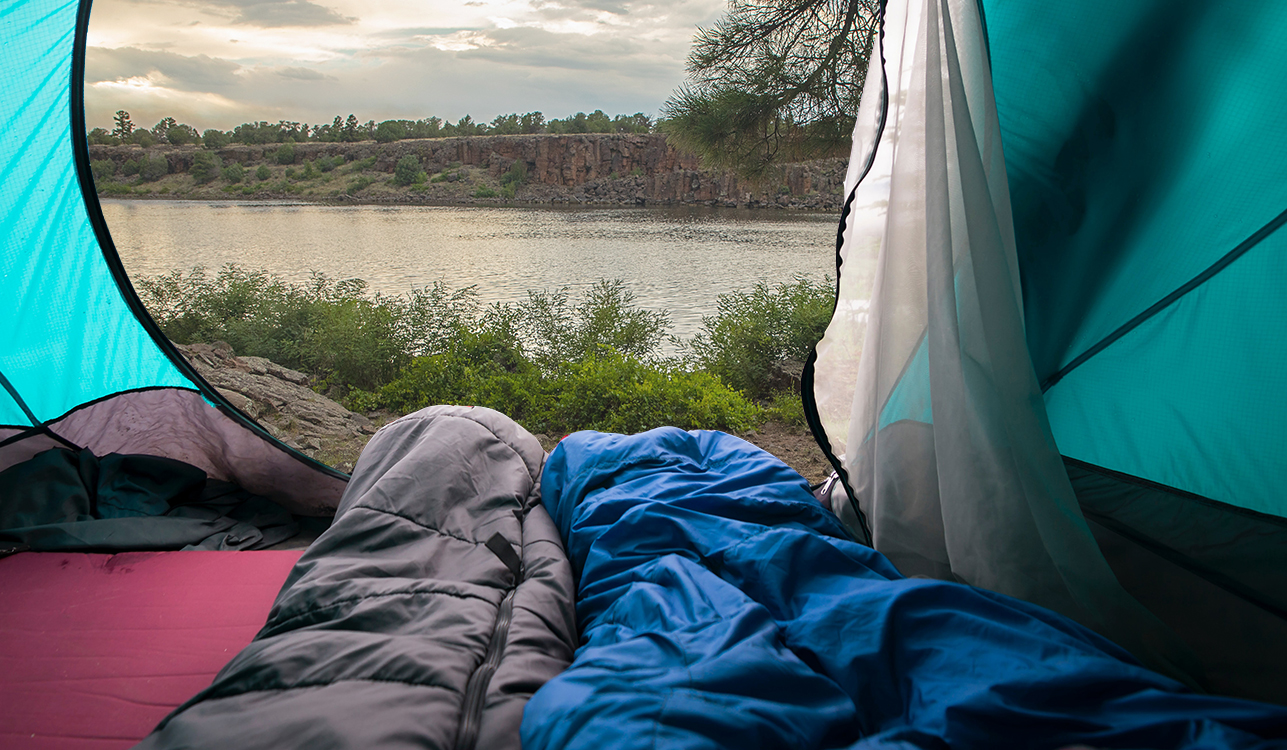
Sleeping Bag
Sleeping bags come in a variety of styles and sizes, and each of them comes with pros and cons. Most campers are looking for a general three-season sleeping bag that compliments the weather conditions on a large scale.
The average camping enthusiast needs a bag that will be light enough during summer months, yet warm enough for cooler nights. By purchasing a mid-range bag, you can adapt very easily to the current conditions. When shopping for a bag, take a look at the temperature rating and choose something in the 30-40-degree rating range for use as an all-around bag. During those warm summer nights, you can lay on top of the bag and use it as extra soft padding or lay within the bag and unzip it to allow air to circulate around inside. If you’re surprised by cooler temps on your trip, just break out your extra blanket (which you should always have just in case) and use it to help insulate.
Cots, Pads, and Mattresses
When you’re shopping for something to place your sleeping bag on, be honest with yourself and what you expect from a good night’s sleep. Some people are just fine with a simple foam pad on the ground, yet others need the soft cushion of a mattress to ensure they are well rested in the morning. Take a critical look at yourself, and consider the following suggestions to sleep in comfort outside this year.
Foam sleeping pads are very portable and come in a variety of thicknesses. Backpackers prefer this type of sleeping pad because in this instance portable also translates to light. Most tent campers prefer something thicker, although there are situations (on sand or other soft substrate) that a thin portable sleeping pad works out very well. Most people seek a more comfortable option.
Inflatable mattresses are available in differing sizes from a small single width design, to full king size mattresses. Keep in mind that unless you have the lungs of an Olympic marathon runner, you’ll need a pump to inflate your mattress. There are manual pumps that work similar to a bike tire inflator, and others run on either batteries or plug into the adapter in your vehicle. If choosing to go with an inflatable design, you will be comfortable, no doubt…but you’ll also have to remember to pack a pump and other accessories in order to utilize this somewhat portable sleep system at the campground.
Cots are the least portable design, yet the most practical in many tent camping situations. They’re a little heavy, but a good cot is extremely comfortable, and you can stow extra gear beneath it to maximize tent space. You’ll likely be able to give one a test ride on the showroom floor in any of the big box stores so you will know which cot is just right for you.
Coolers
Almost every overnight camping excursion (and especially summer camping) calls for the use of at least a basic cooler to keep drinks cold, and food from spoiling. There are so many options in the cooler world it may seem like a daunting exercise in frustration in choosing which one is right for you. Luckily, we’ve used them all and can shed some light on which coolers are best for camping in any neck of the woods.
Standard Plastic Coolers
You know the ones…Similar to the cooler your grandpa used (and maybe still does), these coolers are lightweight, foam filled plastic. This common style has been the “go to” for generations because of the inexpensive price point and ease of use. For most short camping trips, these coolers will do just fine. They leak air and are prone to ice melt because the seal isn’t tight enough to retain the coolness inside. That being said, the price point is just about perfect for most campers and this old school style will get you through most camping trips—except during the hottest part of the year.
Roto-Molded Coolers
These are the high-end option in the cooler world. The rotational molding process eliminated the need to piece together coolers during the manufacturing process. Instead, roto-molded coolers are on a one-piece design that eliminates air leaks. The foam filled sides are also airtight and the lid will create a perfect seal thanks to a heavy-duty gasket and reinforced latches. You really can’t get into the roto-molded game for less than $200 but these coolers will retain ice for much longer than traditional coolers and come with some really awesome factory warranties. In short, you’ll have this well-made cooler for a very long time and will be able to extend your camping trips in even the hottest environments.
Cooler Preparation
An often overlooked item on your pre-camping trip agenda is cooler preparation. If you grab your cooler, whatever style it may be, out of the garage, load it up with food and drinks fresh from the store, dump in some ice, and hope for the best you’re going to be met with melted disappointment at the campsite. Instead, follow these tips and prepare your cooler to serve you to the best of its ability on your next camping trip!
It’s best to take care of grocery shopping at least a day before loading the cooler for your camping trip. This will give you plenty of time to cool down items in the refrigerator before loading them in the cooler. Another tip that will help keep food and drinks cold when camping is to bring your cooler into the house at least a day before loading it, prop the lid open, and bring the cooler to room temperature. You don’t want to have to cool down the cooler and instead the energy of the ice can focus on what it’s intended to do…Keep your perishables and drinks cold!
After loading your room temperature cooler with items that have been pre-cooled in the refrigerator, it’s time to put some ice in there. Block ice will last longer but should be supplemented with cubes to get in all the nooks and crannies of the inside of the cooler. By following the above cooler preparation steps, you’ll be able to extend your camping trips and keep the benefits of cold drinks, and safe food.
Camp Kitchen
You may have a tendency to feel out of your element at mealtime if your camp kitchen setup isn’t easy to use. There are a number of ways to make the cooking situation more user friendly for campers, and it all starts with organization and a plan. Your campsite meals can be as simple or complex as you would like them to be if you pay attention to detail and get a little creative in the process.
A meal plan should be completed before you ever set foot in your campsite. When planning, be somewhat realistic in your campsite cooking goals, but don’t be afraid to challenge yourself while cooking in the campground! Really, all your common household kitchen items can be right there with you if you pack with a plan.
Camp stoves typically run on propane and are very affordable. There are a variety of sizes and styles on the market, but a two-burner propane design is just about perfect for most of your camp cooking needs. Although usually used for grilling meat, don’t overlook the campfire as a resource to cook other food items as well! Potatoes, vegetables, and fish cook up great when spiced, adorned with butter or olive oil, and wrapped in aluminum foil! You can also heat up canned food, or make toast with the fire, plus a whole array of other creative fire cooking methods.
It’s much easier to have separate sets of utensils, pots, pans, cups, etc. for camping and at home use. This way you can store your camp kitchen items in a plastic tote for easy loading and unloading. It’s also a good idea to take a look inside before each trip to double check the contents while making sure you’re not forgetting anything.
Weather and Clothing
Before any camping trip, it’s a good idea to check the weather. This may cause you to postpone your trip, or to pack appropriately if postponing is not an option—or you're willing to brave inclement weather! Since everyone is different and enjoys differing levels of comfort during their trip to the campground, let’s just focus on generalities.
Layering your clothing during colder trips will help trap small pockets of air between fabrics that have been heated by the warmth of your body. Start with a wicking natural or synthetic underlayer, then dress with as many layers as necessary for your personal comfort level. Top it off with a good jacket. The morning chill will wear off fast, especially if you’re being active. Simply start peeling off layers to match your level of comfort throughout the day. As night rolls around again, and it cools off, put them back on.
Cold weather insulated boots and good wool, or synthetic wicking socks are a must for the coldest trips. If it’s only going to be “chilly” then an uninsulated pair of boots with a good sock choice should suffice.
During a warm weather trip, layers may not be necessary, but you should always cover up with light clothes to help deter sunburn. A good hat with a 360-degree brim will help keep your eyes shaded and the sun off the tender portions of your neck that are easily sunburned. Uninsulated boots are the norm this time of year and don’t forget a rain poncho for unpredictable summer weather patterns!
Camp Chairs
Although state park campgrounds and cabins all come with a picnic table, it’s nice to have seating options during your stay! Luckily for consumers, a wide variety of camping chairs are available for purchase at nearly all outdoor stores and online retailers. With so many style differences across the board, how will campers know which is the right chair for them? Our best pro tip regarding camp chair selection is to try before you buy! Looking for something light and compact? Try a standard fold out camping chair. Want something more robust with a rocking option…those are available too, and anything you can imagine! If unable to take chairs for a test drive, make sure to have return options available from wherever you purchase your chair. You don’t want to sacrifice comfort at the campsite!
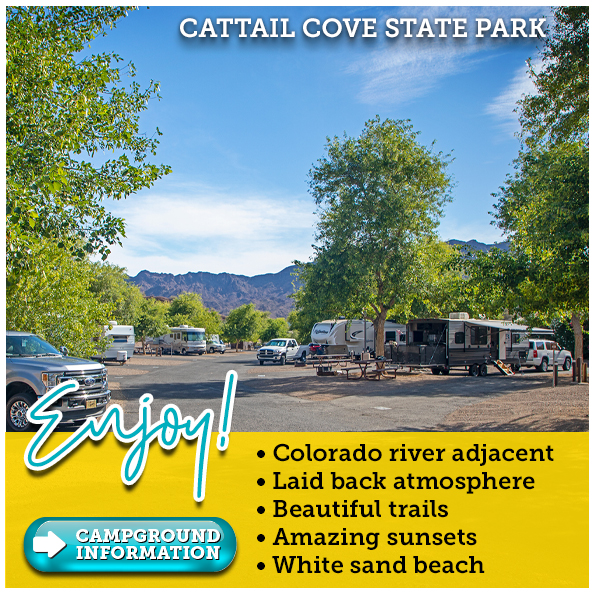
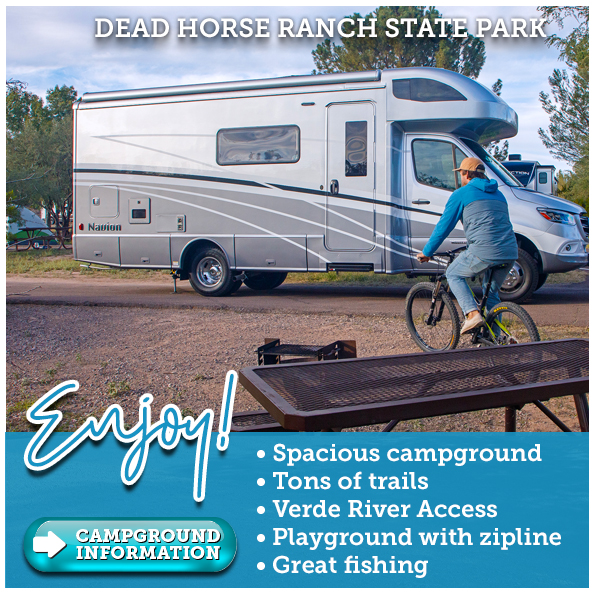
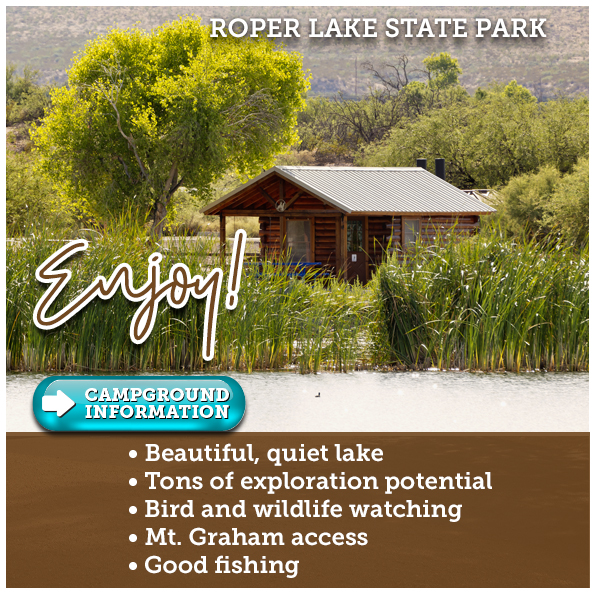
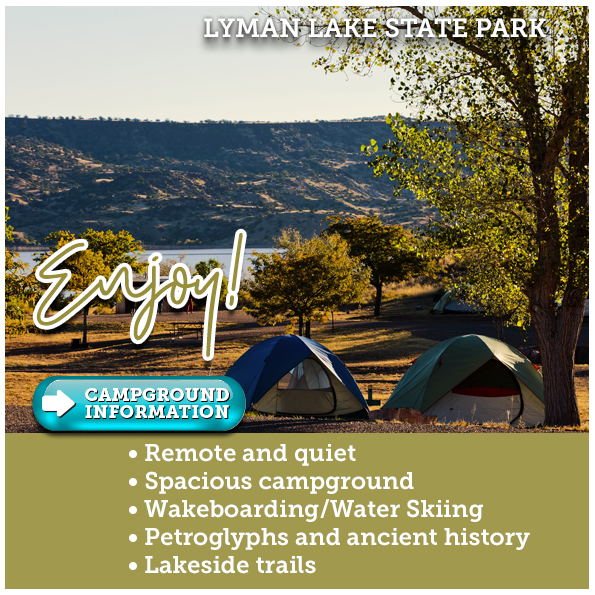
Start Exploring!
There’s no better time than the present to get out there with your newfound knowledge and explore Arizona’s beautiful places! Whether you’ve already been to a park, or want to try something new, there’s plenty of options throughout the state. Check out this short list of great camping parks and hit the road. Print out the free camping checklist and start making memories…It’s that easy!
Final Thoughts
The right gear will make your camping trip much more enjoyable! By learning from the camping tips above, you will be well on your way to reducing the learning curve during your camping trips! It is important to mention that camping during extreme weather can be enjoyed if you’re prepared well, and your gear is appropriate for the situation. Please use caution out there…Stay comfortable, have FUN, and make memories that last a lifetime!
Reserve your spot!
It's so easy to reserve your adventure today...Click below and begin your path to unlimited outdoor memories in Arizona's state parks!